Matrix / Synapse are a messaging platform/server. It is a federated application that allows people to IM/Chat/Video chat. Kind of like IRC or Internet Relay Chat that can connect to other federated chat servers.
While this is federated, it will not work with mastodon/pixelfed instances. While it may look similar, they cannot talk to one another. An example of a mastodon user would be @kristophr@the-gathering.space – while an example of matrix would be @kristophr:chat.gaymers.me. Notice the use of : between the username and server for matrix whereas there's an @ symbol between a username and instance for mastodon (pixelfed, etc).
For the record – there is a package that is installable directly in Ubuntu/Debian flavors of Linux. However, I was never able to get them to work correctly. This guide will step you through on how to set everything up and work as it should.
This guide is assuming that a domain has been purchased and being hosted via DigitalOcean droplet. Also mailgun will be used as the smtp outgoing server for email.
Pre Setup prior to installing instances
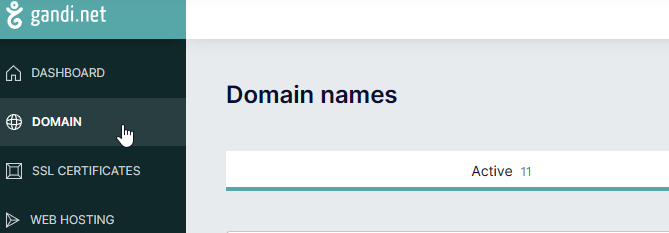
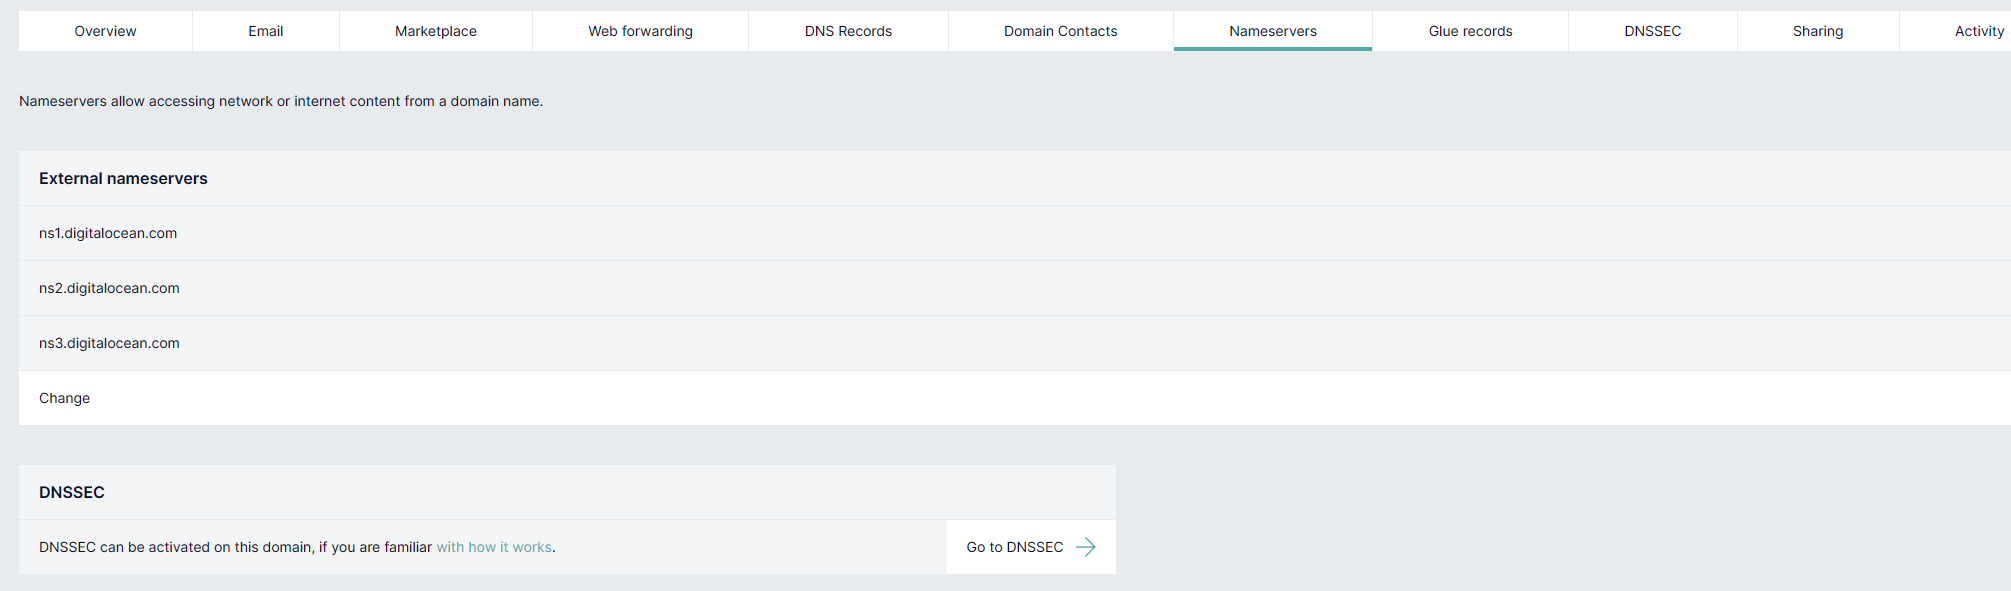
Buying a Domain and Pointing it to DigitalOcean
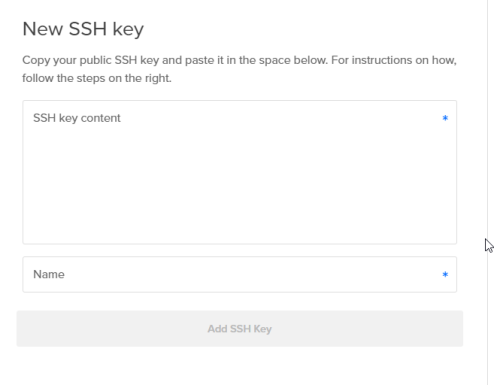
Setting up SSH & Keys
Purchasing an SMTP Provider
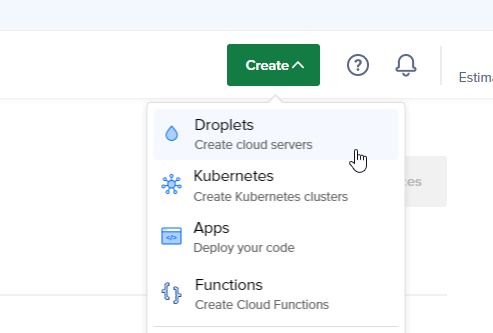
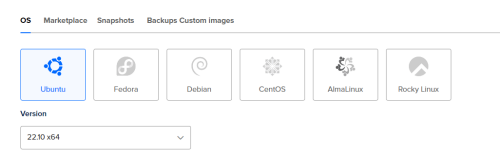
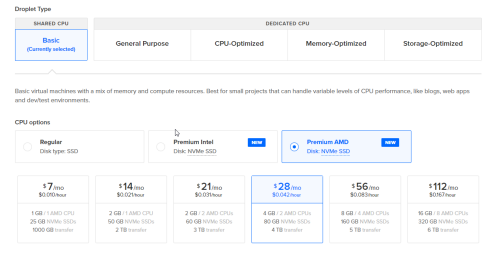
Setting up a New Droplet on Digital Ocean
Prepping the Server for use
Log into server
Using your favorite terminal, launch it and log in
ssh root@IP_Address_of_remote_server
or
ssh root@domain.com
Install required software
sudo apt install build-essential python3-dev libffi-dev python3-pip python3-setuptools sqlite3 libssl-dev virtualenv libjpeg-dev libxslt1-dev libicu-dev nginx certbot python3-certbot-nginx
Press Y and press enter to begin installation
Staging the server and installing Matrix Synapse
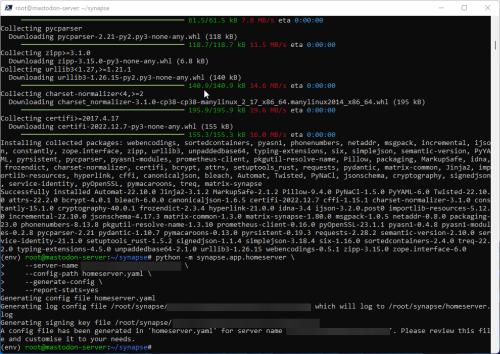
Once everything is installed from previous command, create a directory to install Synapse.
mkdir -p ~/synapse
This will create a folder located in /root/synapse
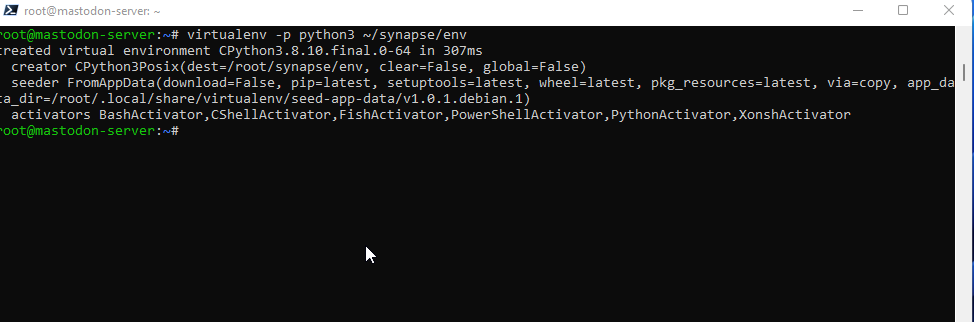
Create a virtual environment by issuing the following command:
virtualenv -p python3 ~/synapse/env
Use Source to use specific environment variables to install synapse
source ~/synapse/env/bin/activate
The prompt should now look like the following

Use pip to install the following commands
pip install --upgrade pip
pip install --upgrade setuptools
pip install matrix-synapse
Generate config file
While still in the new environment – execute the following commands to create a server yaml file. This file is how to configure the server upon launching.
First navigate to the folder (if not done so)
cd ~/synapse
Execute the following command to generate the yaml file. Make sure to update the server-name with the domain that will be used.
python -m synapse.app.homeserver \
    --server-name CHANGEME.DOMAIN.URL \
    --config-path homeserver.yaml \
    --generate-config \
    --report-stats=yes
Should look something like this when done:
Update the homeserver.yaml file
Edit the file
nano homeserver.yaml
Opening Registrations to your server
If you want users to be able to register themselves you will need to allow that in your homeserver.yaml file. Paste the following sections into the config file.
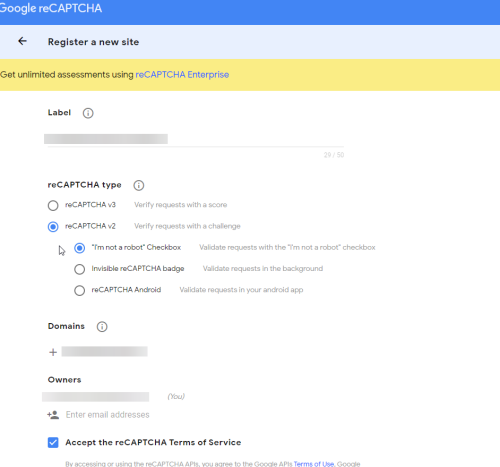
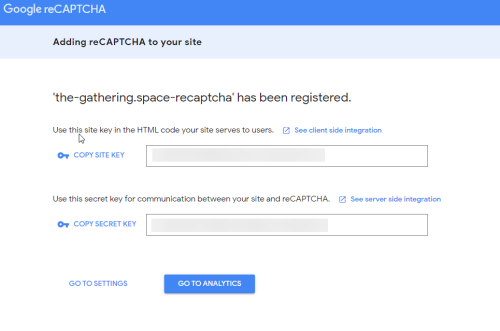
Recaptcha was tough for me to figure out and get through – however, you will need a google account to register the recaptcha. When ready – go to the following link:
https://www.google.com/recaptcha/admin/create
This seems to be the only link that works to create the recaptcha keys for v2. My personal struggles were just googling recaptch and going to the recaptcha enterprise application. Do not do this – only create using the link above.
Also make sure that recaptcha v2 with checkmark is selected. This is the only version that Matrix/Synapse supports.
For emails, I use mailgun.com but any smtp server will work.
#Registrations
enable_registration: true

#ReCaptcha
recaptcha_public_key: "<INSERT PUBLIC KEY"
recaptcha_private_key: "<INSERT PRIVATE KEY>"
enable_registration_captcha: True
recaptcha_siteverify_api: "https://www.google.com/recaptcha/api/siteverify"
public_baseurl: "UPDATE TO YOUR SERVER"

#Email
email:
    enable_notifs: true
    smtp_host: CHANGEME - SMTP SERVER
    smtp_port: CHANGEME - SMTP PORT
    smtp_user: "CHANGEME - USERNAME"
    smtp_pass: "CHANGEME - PASSWORD"
    require_transport_security: False
    notif_from: "Your Friendly %(app)s Home Server <CHANGEME - EMAILADDRESS>"
    app_name: Matrix
    notif_for_new_users: True
Enable users to create group chats
If you want your users to be able to create group chats – insert this line into the homeserver.yaml file
enable_group_creation: True
nginx set up
To put the newly created server behind a reverse proxy, we'll accomplish this by using nginx.
Create a conf file
nano /etc/nginx/sites-available/matrix.conf
Once the file is open, paste in the following text – make note to update the server_name with your domain. Make note to update the CHANGEME as noted below – usually all of these are identical
server {
    listen 443 ssl http2;
    listen [::]:443 ssl http2;

    # For the federation port
    listen 8448 ssl http2 default_server;
    listen [::]:8448 ssl http2 default_server;

    server_name CHANGEME; #Enter chosen domain name

    location ~* ^(\/_matrix|\/_synapse\/client) {
        # note: do not add a path (even a single /) after the port in `proxy_pass`,
        # otherwise nginx will canonicalise the URI and cause signature verification
        # errors.
        proxy_pass http://127.0.0.1:8008;
        proxy_set_header X-Forwarded-For $remote_addr;
        proxy_set_header X-Forwarded-Proto $scheme;
        proxy_set_header Host $host;

        # Nginx by default only allows file uploads up to 1M in size
        # Increase client_max_body_size to match max_upload_size defined in homeserver.yaml
        client_max_body_size 50M;

    # Synapse responses may be chunked, which is an HTTP/1.1 feature.
    proxy_http_version 1.1;

    }

location /.well-known/matrix/server {
     return 200 '{"m.server": "CHANGEME:443"}';
     add_header Content-Type application/json;
     default_type application/json;
     add_header Access-Control-Allow-Origin *;
    }

location /.well-known/matrix/client {
    return 200 '{"m.homeserver": {"base_url": "https://CHANGEME"}}';
    default_type application/json;
    add_header Access-Control-Allow-Origin *;
}

}
After making the changes – use Ctrl-X to exit, press Y to save and enter to confirm the file name
Enable the new config by executing the following command
ln -s /etc/nginx/sites-available/matrix.conf /etc/nginx/sites-enabled/matrix.conf
reload the nginx service
service nginx reload
Finally use Lets Encrypt to secure the newly enabled site
certbot --nginx
If this is your first time using nginx; accept the terms agreement, enter a valid email address, next – select the domain being set up in this guide, and finally select 2 so that the server will always redirect to https.
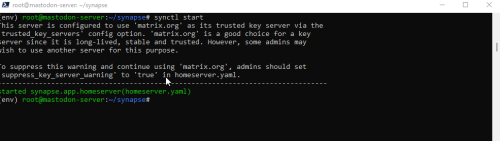
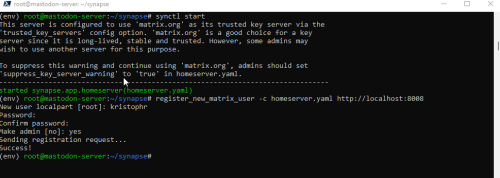
Time to start the server
To enable the server, while still at the prompt
synctl start
If everything went well – a green prompt will say that the server has started
If everything is successful – navigating in a browser to your newly established server – you'll simply get an nginx welcome page. This is expected as everything is running in the background.
Creating an admin user
Next, while still in the console, you'll create your admin user account. To do this, execute the following command
register_new_matrix_user -c homeserver.yaml http://localhost:8008
Enter in your favorite details and a success message should appear
Logging in with your favorite client
Everything up to this point is getting your SERVER up and running. A client (whether a local desktop app or a web app) is still required to make use of this server.
Personally I like Element; but I am certain there are others out there – you can download element here
Mastodon: @kristophr@the-gathering.space
Email: kristophr@live.com